Date:
The process of creating scientific artwork differs depending on the project, the subject matter, and the media used, but the first step always begins with an idea and lots of research into the science of the subject. What truly makes the piece is the information behind it, and the scientific illustrator has the unique position of translating the scientific concept into a visually appealing presentation and artwork.
Often an artist will work with a scientist or researcher who is looking to collaborate with an illustrator to depict their subject of study for a scientific journal or other audience.
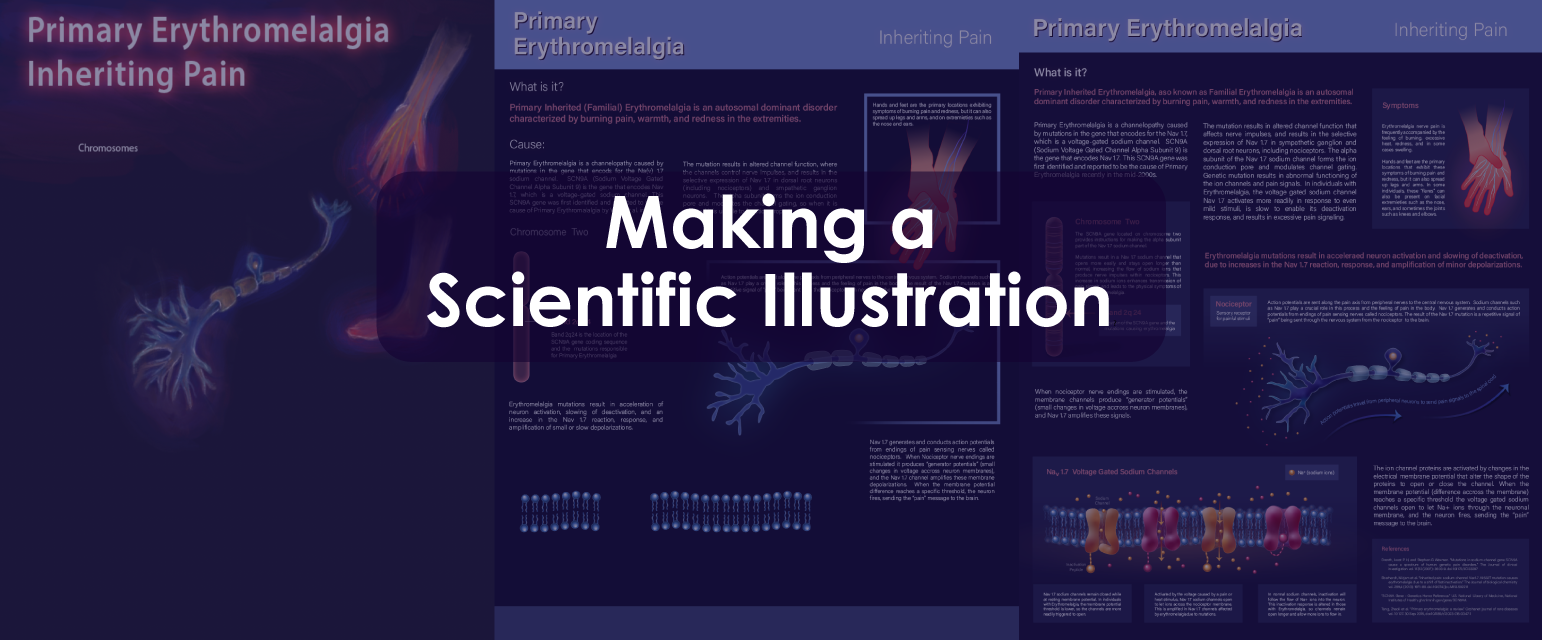
The example used in this process is a poster design with multiple illustrations and factual information for a medical condition called Erythromelalgia. Let’s take a look at all the steps it took to create the final version of this scientific illustration!
1. Research, Research, & More Research!
You have a topic for a new project, now you need to get started. The first thing a scientific illustrator must do is research the subject! You can’t create an accurate illustration unless you know what is important and have a general idea of what you’re trying to show. This step can take a long time, but it is extremely important because the goal is to accurately share the information! Scientific illustrators must do research on their subject and the environment around their focal point will be. Sometimes this research will include habitat, the surroundings of an internal organ, what was present historically for an extinct animal or plant, and other considerations. When the artist is working with a scientist they will be provided with the information, but it is also important to see what other work already exists on the subject.

2. Preliminary Sketches
Preliminary sketches will look very rough. People tend to think that everything an artist makes will look wonderful right away, but almost every piece of art goes through a lot of rough planning stages and low-quality sketches. This is all part of the process! Do not despair if you cannot make a work of art in five minutes, it takes a lot of revising and editing in order to reach the final product.
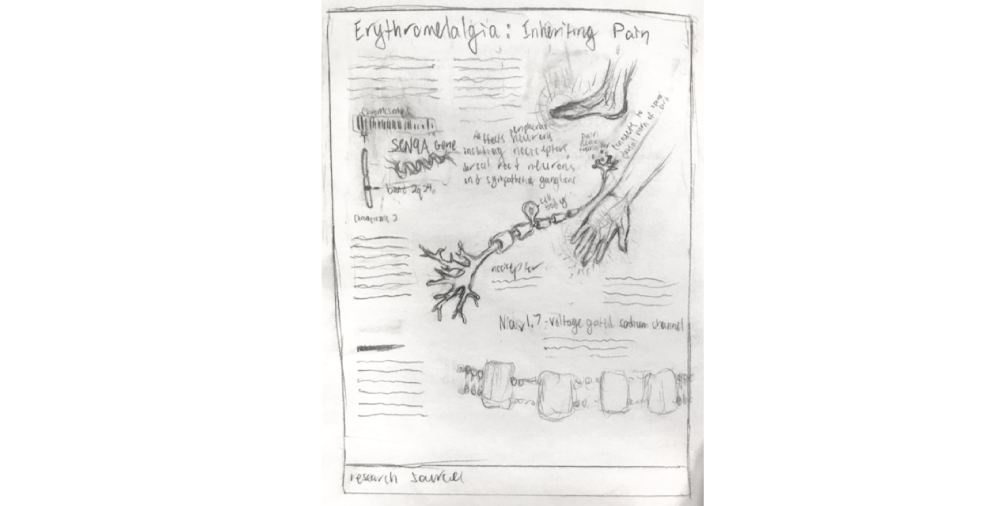
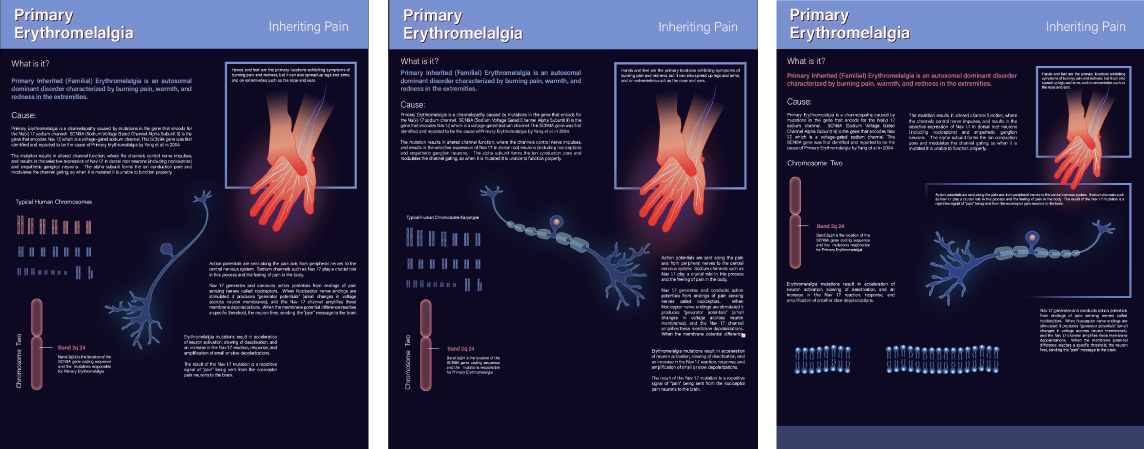
For a big project such as this informative poster, which involves a number of different illustrated elements, a preliminary sketch and layout might look something like this image above. Using my research, I identified the important components that could be illustrated to help understand the subject. This sketch has a relative layout regarding the content of both text and images, though it will definitely change over the process of creating the poster. What you want from early sketches is a lot of flexibility, creativity, and ability to change over time. These sketches provide a foundation and a trajectory idea of where you want to project to go, but through the art process these original concepts undergo significant changes.
3. Practice Using Selected Media
Depending on what media the illustrator selects to render the project in, it can be important to practice using the selected media (pen & ink, painting, 3D software, etc.) to create the visual effects and practice the techniques required to create the best quality final product. For this piece, I already was familiar with the digital software of Adobe Illustrator that I ended up using to create the poster. In the early stages I tested a few different styles such as using digital brushes in Adobe Photoshop and a drawing tablet before settling on creating graphics in Adobe Illustrator software.
4. Decide on General Composition & Transfer Drawing
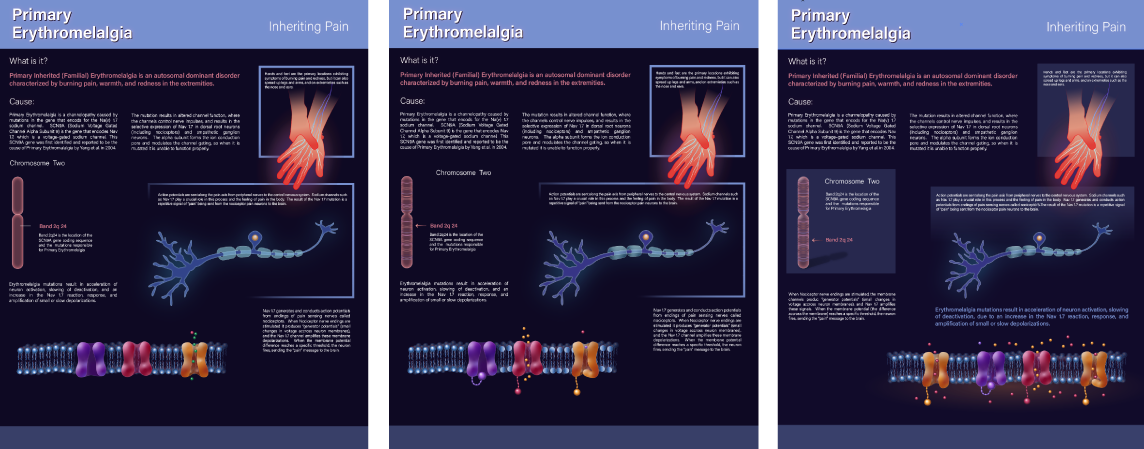
This step can change depending on the type of media in use, but for most traditional drawing or painting the artist transfers a final composition or line work onto the final surface. This is a bit different for digital illustrations, such as the one depicted in this work-in-progress. Using tracing paper to transfer a sketch is only necessary for traditional media.Artist can also use a light box to save time during the transfer process. The paper for the final illustration is placed over top the original sketch so that the light shines through the back of both pages, allowing the drawing can be traced onto the final paper.
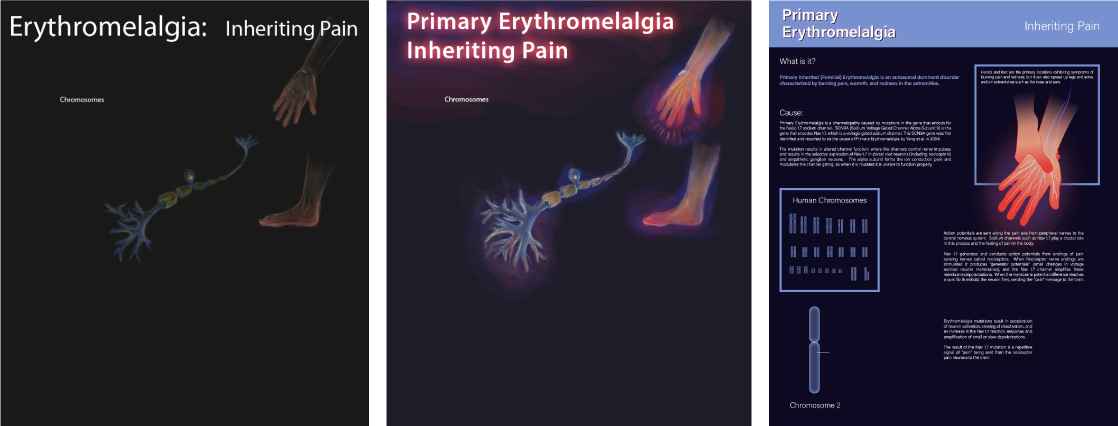
Digital media can work much in the same way to a light box. The original sketch can be scanned or photographed and added as a layer in the art program that the Scientific Illustrator is using.New layers can be created on top of this so the artist can trace or create the final artwork based on the underlying sketch.
5. Work on Final Drawing
Though it may sound the simplest, this is the most time-consuming step! As an illustrator crafts the final scientific illustration it is necessary to constantly be reconsidering the content, structure, design, and rendering of the product. Reference images can be used to realistically render different subjects and to observe a certain lighting or position of an object. Depending on the subject matter, it is also common and necessary for scientific illustrations to include a scale and measurements.
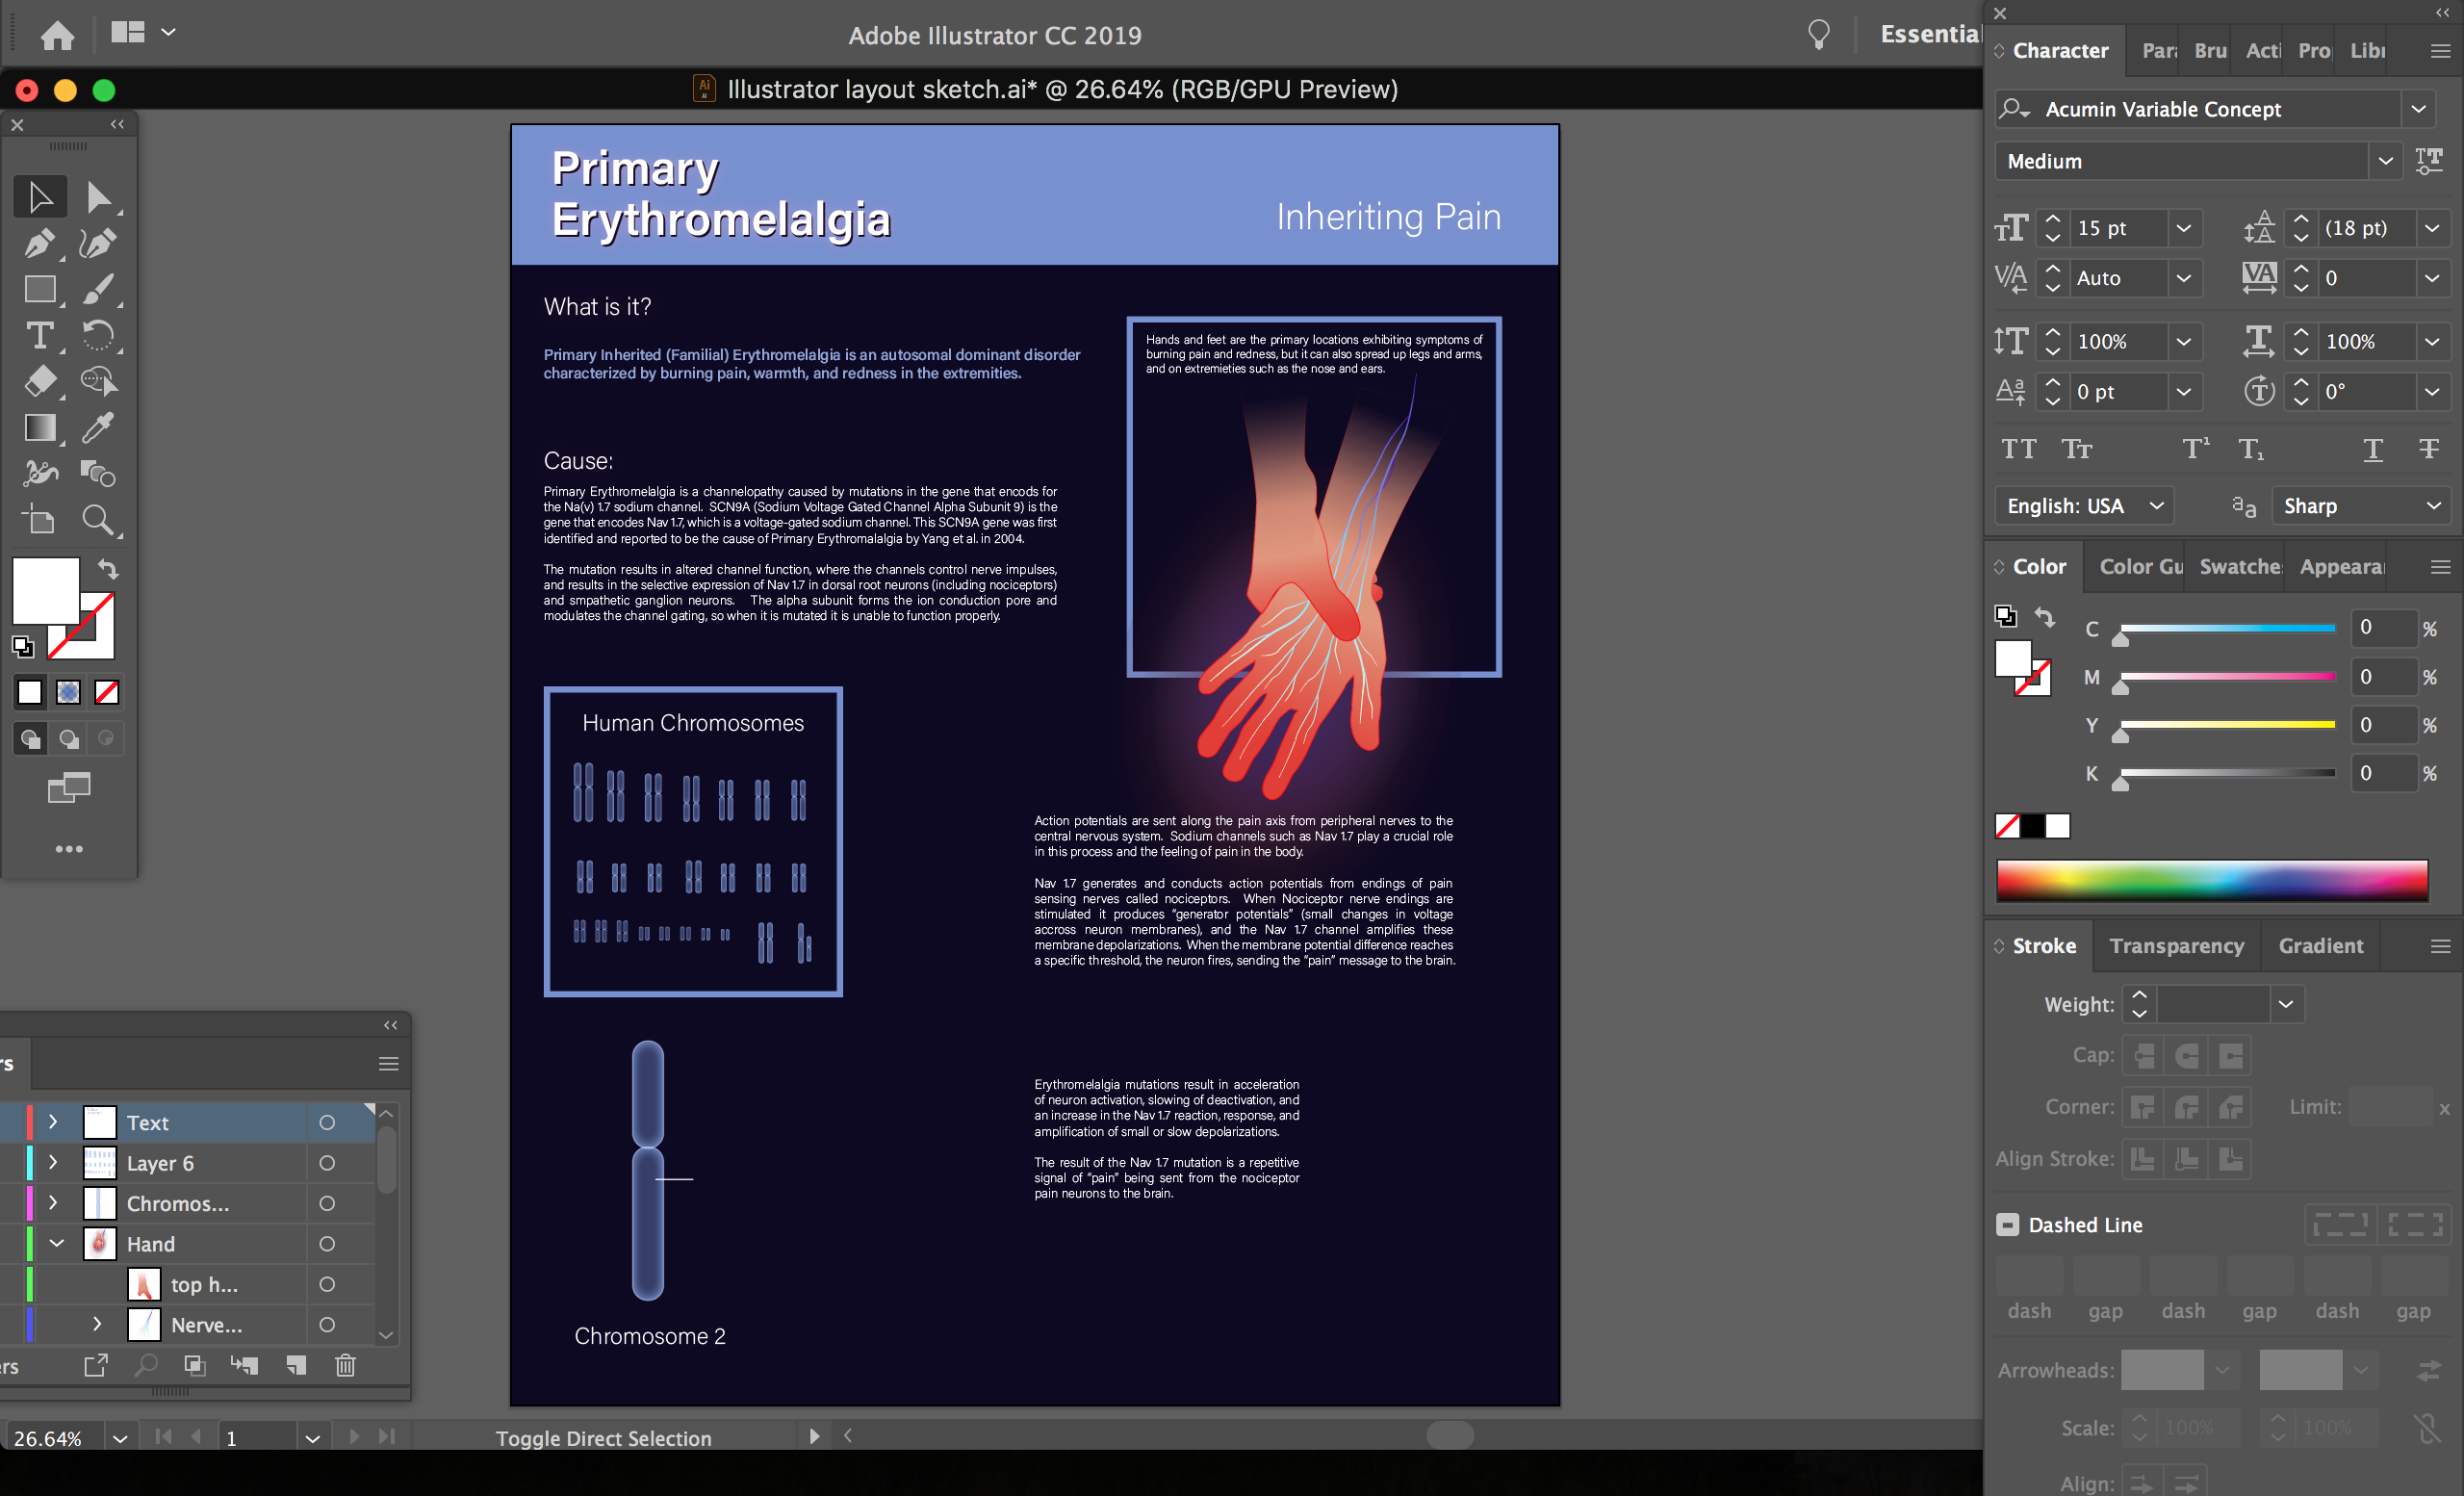
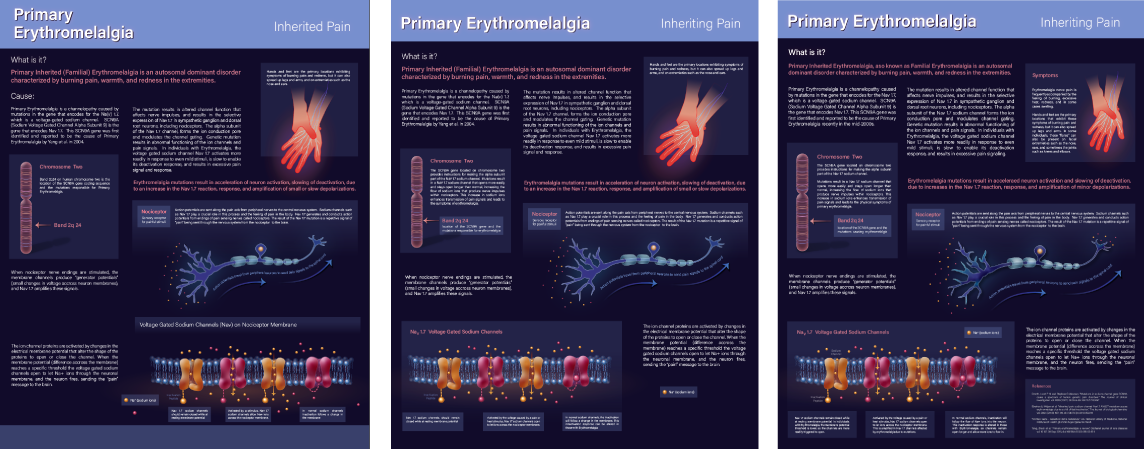
I chose to render this poster and the accompanying illustrations in a somewhat realistic but stylized graphic way. This is because of the educational poster format and the audience I was aiming to reach with the design. For rendering the subject matter in this piece, I used different stock images in addition to the research I did regarding the molecular and cellular structures I chose to illustrate. It is important to see how similar subjects are illustrated in already existing artwork, but it is equally important to bring your own artistic style and scientific accuracy to the project as well.
Image


6. Revise & Finalize!
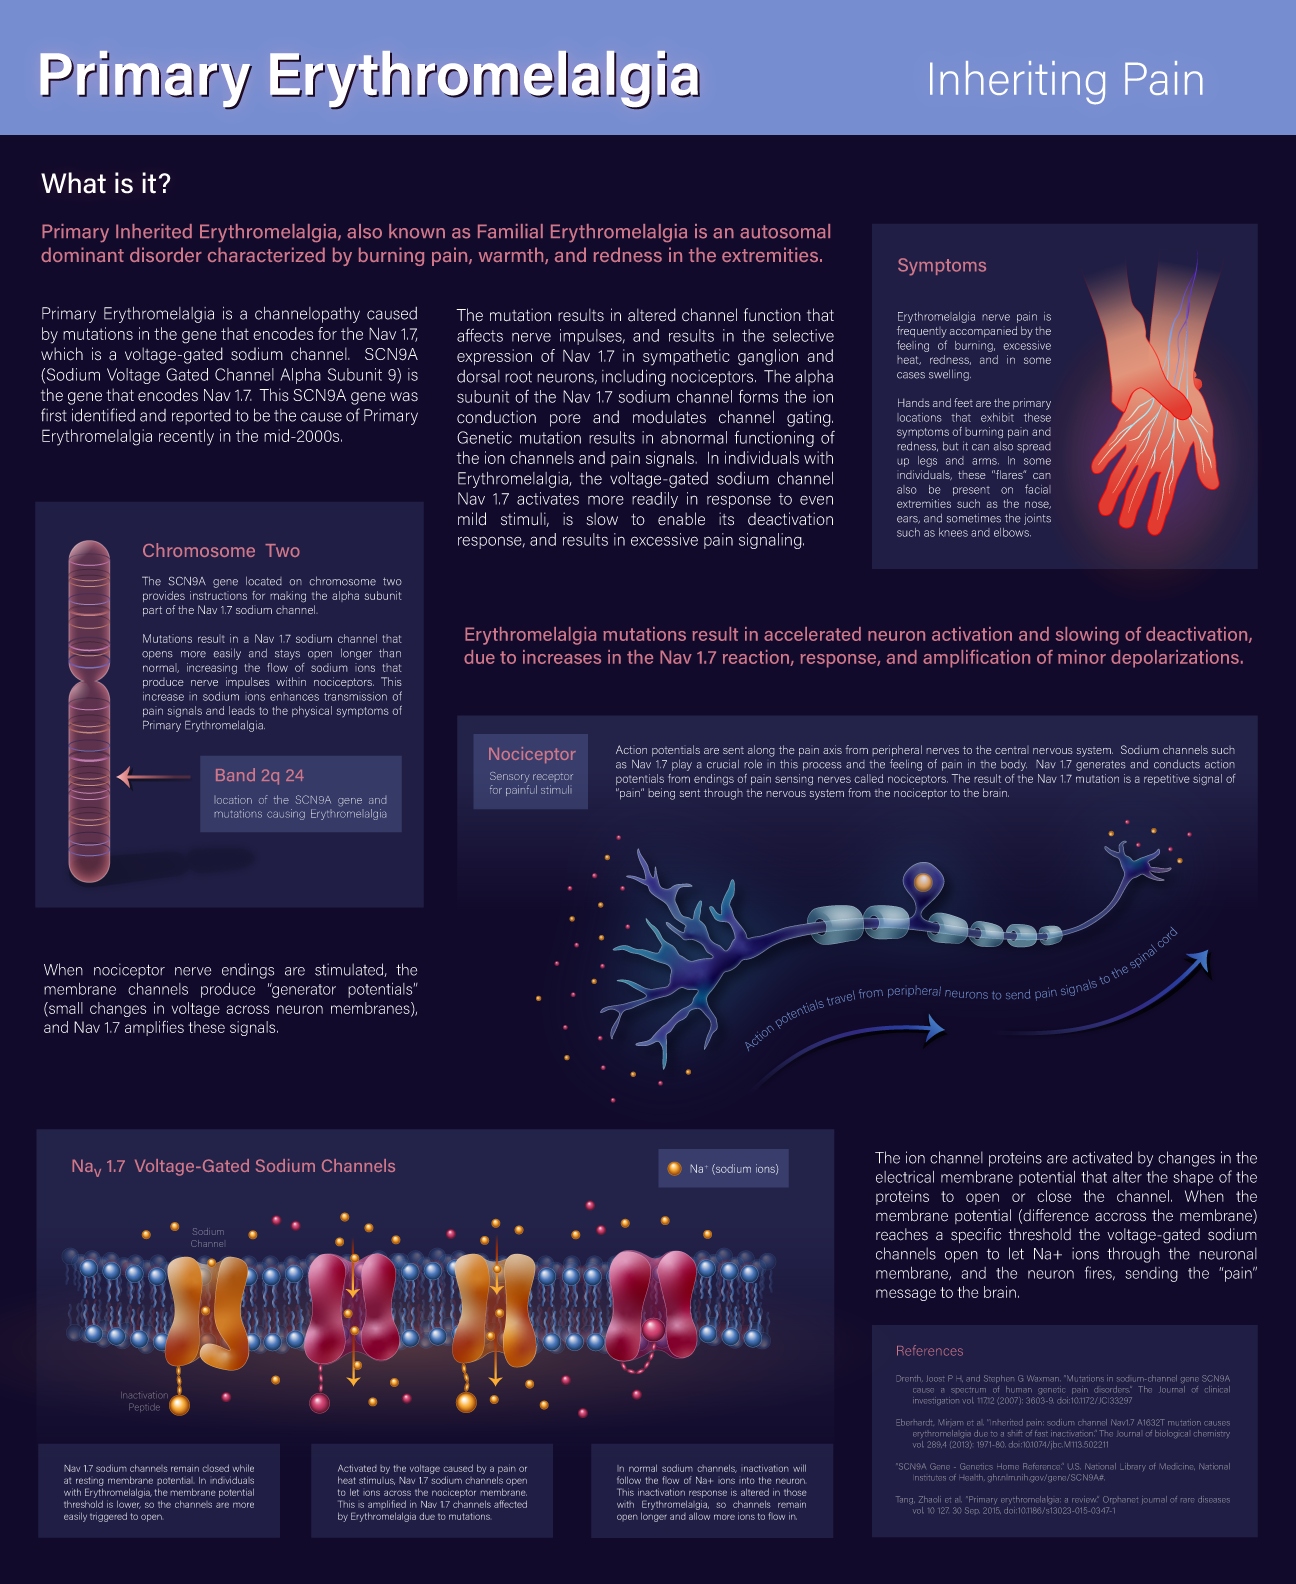
For me, and many other artists I have encountered, this can be one of the most difficult parts of the illustration process because as artists we often feel as if a piece is never quite done to our standards. Near the end, a piece of artwork may continue to be edited, added to, and worked on for days, months, or even years depending on the scale of the project. This final image depicting my "final" rendering of the poster is the product of weeks of work, and is something that I will likely return to in the future to edit and alter.
Final Poster and Illustrations
About the author
Kara Perilli
Kara is the Digital Media Intern at the Franklin Institute for the spring of 2019. As an intern, she works primarily on website editing and digital content creation, in addition to an assortment of other work within the department.
She holds a B.A. in Scientific Illustration from Arcadia University, and is pursuing a career in this field. Her goal is to promote science education and share information with a wide range of audiences through museum work and scientific illustration.